Karen’s Granola for Snacking & Pie Crust
Perfect for snacking, and makes a Pie Crust more delicious than graham cracker crumbs!


Ingredients
Instructions
Granola:
Preheat oven to 350 degrees.
In a small pan, add the 2 oils, honey and barley malt. Simmer until melted.
Add the oats to a large bowl, add the melted mixture, Stir in well.
Add the rest of the ingredients: light brown sugar, cinnamon, vanilla, almond extract and coconut.
Mix well. Add the granola to a large rimmed baking sheet pan (full sized) and pat down to form a single layer.
Bake in the oven until just golden, about 15 minutes.
Remove from the oven and stir up with a wooden spoon, then pat down again into a single layer – insures golden throughout.
Pop back in the oven for 10 minutes, or until a nice golden color.
Remove from the oven and cool. Stir up while still a little warm (so it doesn’t stick to the bottom.) Cool thoroughly, will be very crispy.
Store in an airtight glass container.
For Granola Pie Crust:
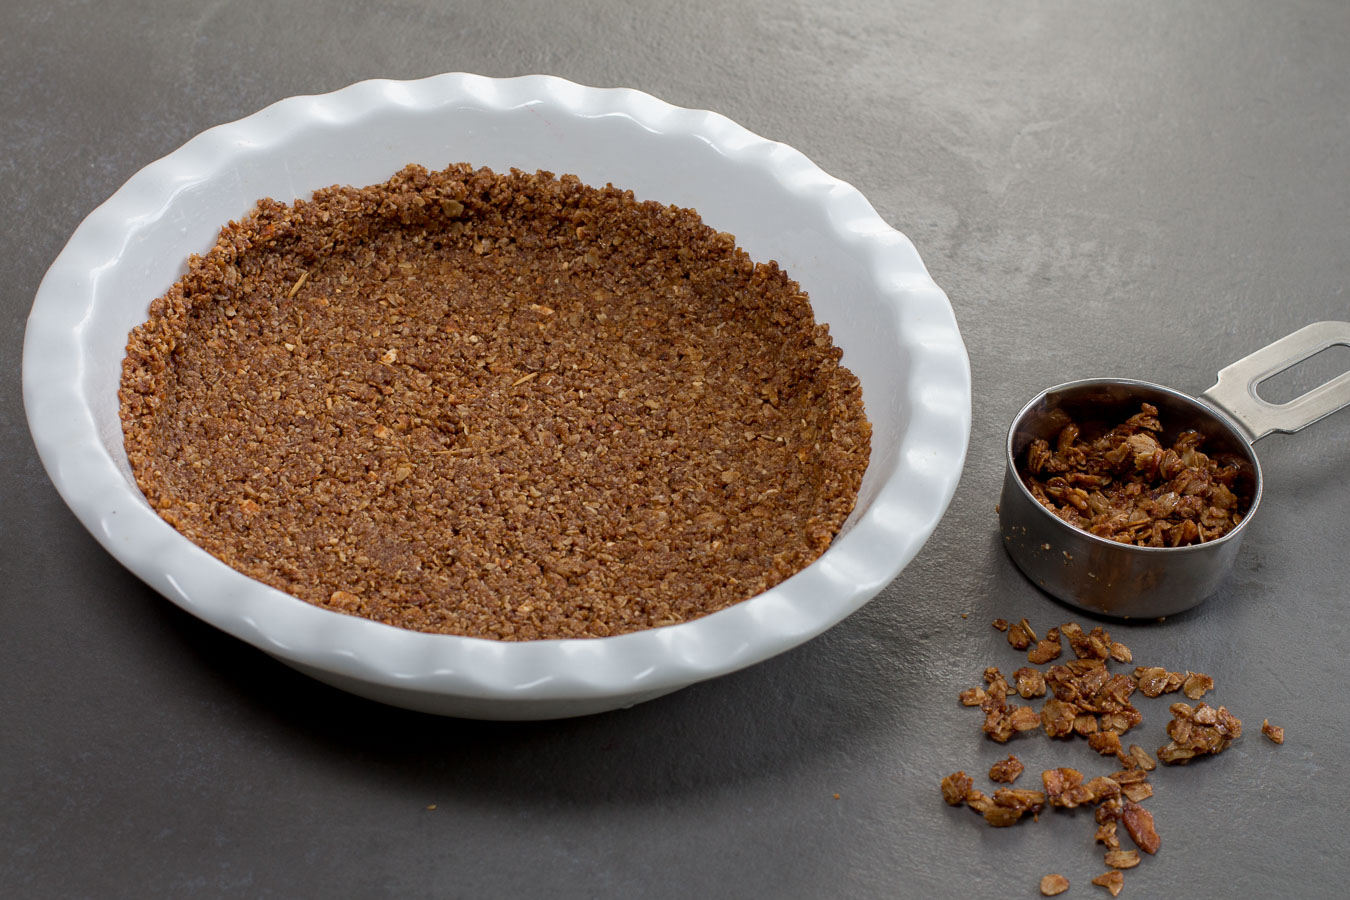
Use 1 3/4 cups of granola for a 9″ pie pan.
Grind 1 cup of granola in a food processor (I used a 4 cup one) until fine-small crumbs, like graham cracker crumbs.
Melt 2 T. of coconut oil.
Add the Granola crumbs to a medium sized bowl.
Process the last 3/4 cup of granola into a little larger pieces, with more texture.
Add the coconut oil and last batch of coarser granola to the bowl.
Mix to combine all.
Press into the pie pan, making a 1″ high edge. Freeze until firm, 15 minutes.
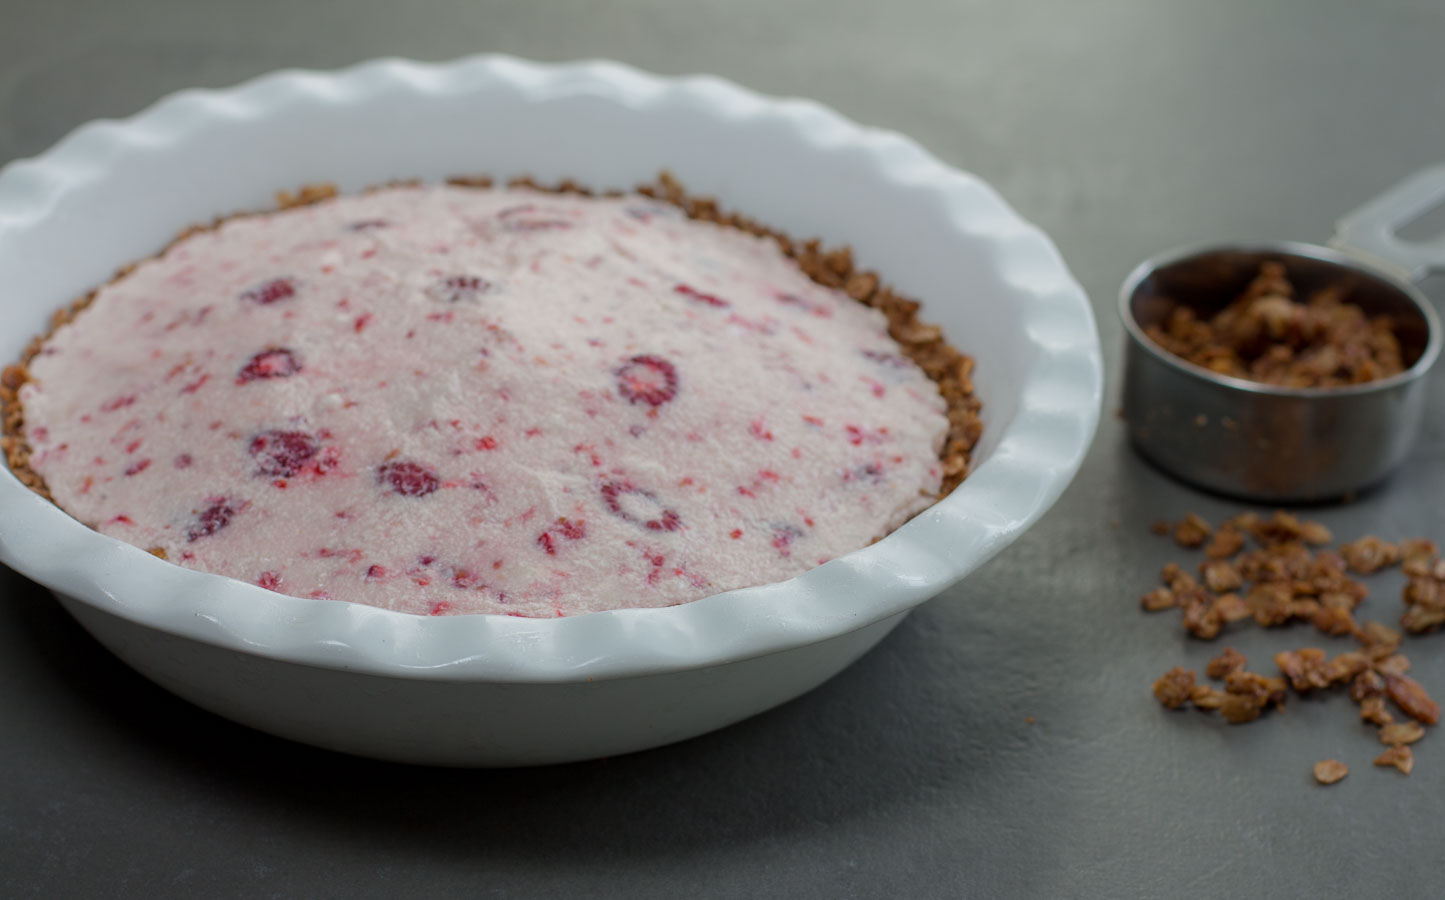
Fill with the Raspberry Marshmallow Pie Filling and refrigerate, or freeze.
This recipe may not be reproduced without the consent of its author, Karen Sheer.

To say hello, discuss a recipe, share one, or have a comment - I would love to know what you think!