Spicy Red Kale Chips with Cashews and Miso
Mar 08, 2018, Updated Feb 08, 2025
Crispy, light & flavorful – these chips are quite easy to make. The ultimate healthy snack! Recipe: Baked and RAW. Make a flavor paste~seasoned topping and simply massage into leaves and bake.
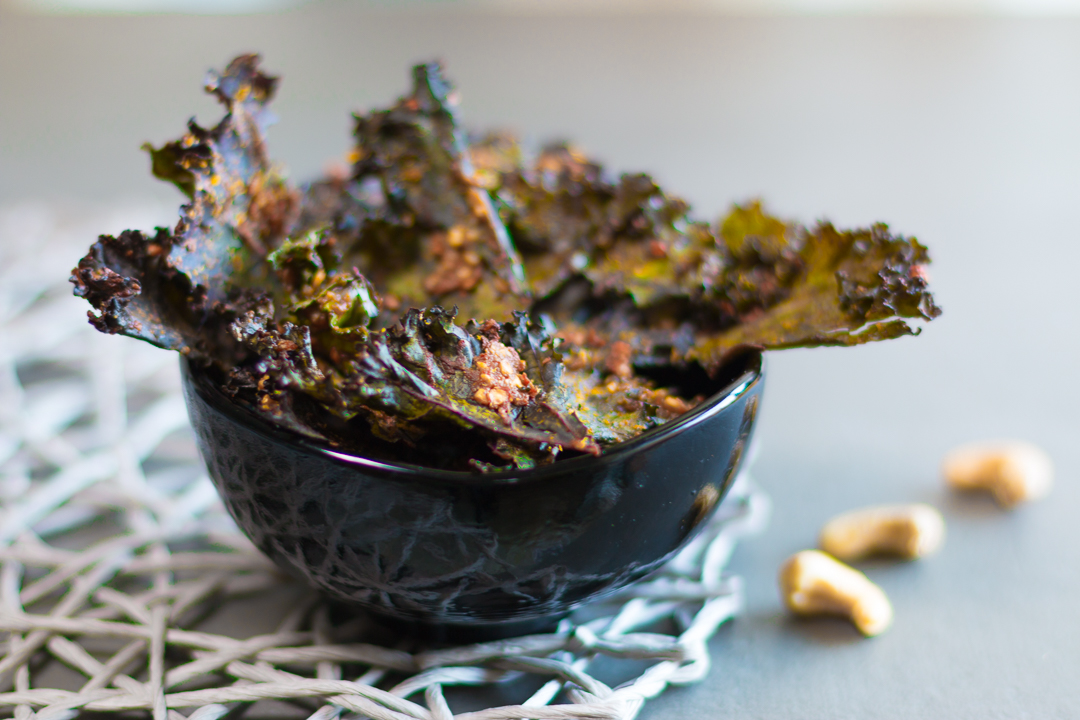
Homemade Kale Chips are crunchy with an addictive flavor:
They have few calories and are a source of several essential nutrients. The ultimate healthy snack!
Gluten Free, Dairy Free and Low Sodium.

Make a flavor paste~seasoned topping and simply massage into leaves and bake. An explosion of flavor!
And while you enjoy their superb savor, you can think about all of the following benefits of eating these scrumptious kale chips every day.
I’m Loving Kale Chips: (this is why)
- Kale Chips are a Low Energy Density Snack
- Kale Chips are Packed with Antioxidants
- Kale Chips are the Perfect Option for Savory Snack Lovers
- Kale Chips Offer a Reliable Source of Vitamin K
- Kale Chips are an Excellent Source of B Vitamins
- Kale Chips are Incredibly Versatile (crumble them on salads and pasta!)
Kale chips are fun to make in your kitchen, quite economical (I buy a huge bunch Organic Kale for $2.49) and you can flavor them up with quality ingredients with different flavor profiles.


To make these EASY Kale Chips:
- Remove tough, center ribs with a sharp knife, wash and dry the leaves.. kale leaves need to be very dry! Heat up the oven to 300 degrees.
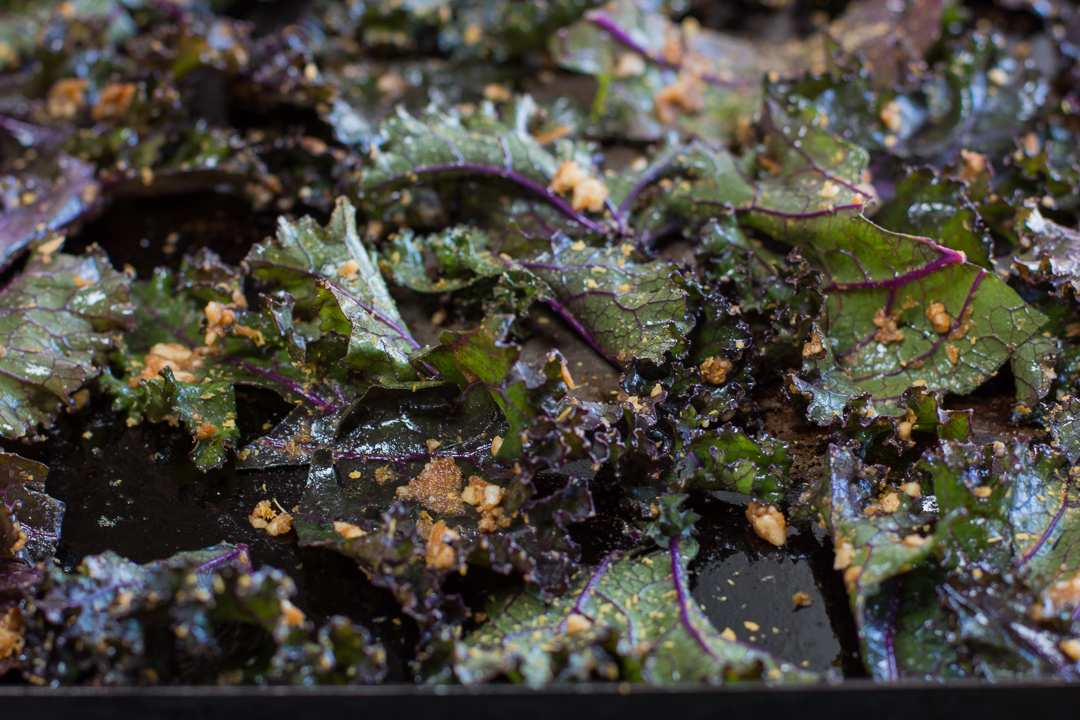
- Make a flavor paste and rub into the kale leaves in a big bowl until all the leaves are coated.
- Arrange the leaves on lightly oiled (I use only extra virgin olive oil in these recipes) rimmed pan and bake for 15 minutes until they are dried and crispy.
- That’s it!!! Wonderful recipes to make with the kids… an easy clean up and the kitchen smells great.
The perfect snack, any time of the day. Give some as a gift to your friends, they won’t believe you made them!
What an amazing snack food… guilt free with healthful ingredients.
Instead of reaching for chips and crackers, try these flavor-powerhouse treats!
See my recipes for a RAW cooking option: dehydrating while still retaining all the enzymes.
Comparison ~ Baked vs. Dehydrated:
I made this recipes in my oven, and in my new dehydrator (which I am loving.)
The Taste: Similar taste… dehydrated had more pronounced flavor; the spicy version was spicier.
The Texture: Surprisingly, the baked ones were lighter, a little thinner and more fragile.
The dehydrated ones had a little more vibrant color and were more sturdy and less fragile.
Cooking Times: Baked ones are crispy in 15 minutes. Dehydrated ones are crispy in 2 hours or so (times may vary.)
Conclusion: I love them both! The baked ones obviously cook much quicker and really come out beautifully.
The dehydrated chips are fabulous, considered “raw” with many health advantages
Enjoy!
Karen
Also SEE: Tahini Sesame Kale Chips with Za’atar Seasonings
Spicy Red Kale Chips with Cashews and Miso

Equipment
- 2 rimmed baking pans
Ingredients
- 1 large large bunch red kale, organic about 1/2 pound, 14 stems
- 2 tablespoons extra virgin olive oil
- 1/3 cups raw cashews, coarsely chopped
- 1 tablespoon white mellow miso
- 1/4 teaspoon chipotle powder, (spicy and smoky) more if you like very spicy
- 1 tablespoon balsamic vinegar, (one without “caramel colors”)
- 1 teaspoon garlic powder, (I dehydrate and grind my own)
- 3 – 4 tablespoons nutritional yeast
Instructions
Baked Kale Chips:
- Remove the thick, center ribs from each kale leaf on a cutting board with a sharp, small knife – cutting it away. To achieve crunchy kale leaves, it is important to remove this rib, until about an inch to the top of the leaf.
- Wash the leaves, and place them in a salad spinner, in two additions until dry. Alternately, you can dry the leaves in a kitchen towel, or paper towels. Make sure the are VERY dry, or they will not crisp as nicely.
- Preheat oven to 300 degrees.
- Add the dry leaves to a large bowl and make the seasoned topping. (You may tear the leaves into large shapes.) In a small food processor add the next six ingredients, olive oil through garlic powder. Pulse the topping, scraping down in between until a paste, and the cashews are all finely chopped.
- Add to the leaves in the bowl. With your hands, rub… gently massage the topping into the leaves until all is coated. Gets a little messy – yet you need you use your hands. Add the nutritional yeast, lightly rub in until coated.
- Very lightly grease two rimmed baking pans. Place the leaves in a single layer on the pans, leaving a little space between them.
- Bake in the oven for 15 minutes at a low temperature until crisp, dry and crunchy (they continue to crisp a little out of the oven.)
- ~ The recipe does not need salt, the miso is salty enough, and the nutritional yeast gives a flavor boost.
- When cool, store in an airtight container. Will last about 1 week… tastes best in the first few days.
For RAW Chips:
- See above, then use dehydrator to crisp. I start at a higher temperature (normally 145 degrees) and then after a period of time, usually 1/2 to 1 hour, reduce the temperature to 115. Yes, this is still raw, and no you are not compromising the nutrients. The thing to remember here is that the FOOD temperature never goes above 115. Use the mesh sheets of your dehydrator. Add the leaves in a single layer on them, leaving a little space between them. Dehydrate at 131 -135 degrees for about 2 hours total time, or until the chips are dry and crispy.
Notes
Nutrition
Nutrition information is automatically calculated, so should only be used as an approximation.